1Create a New Server
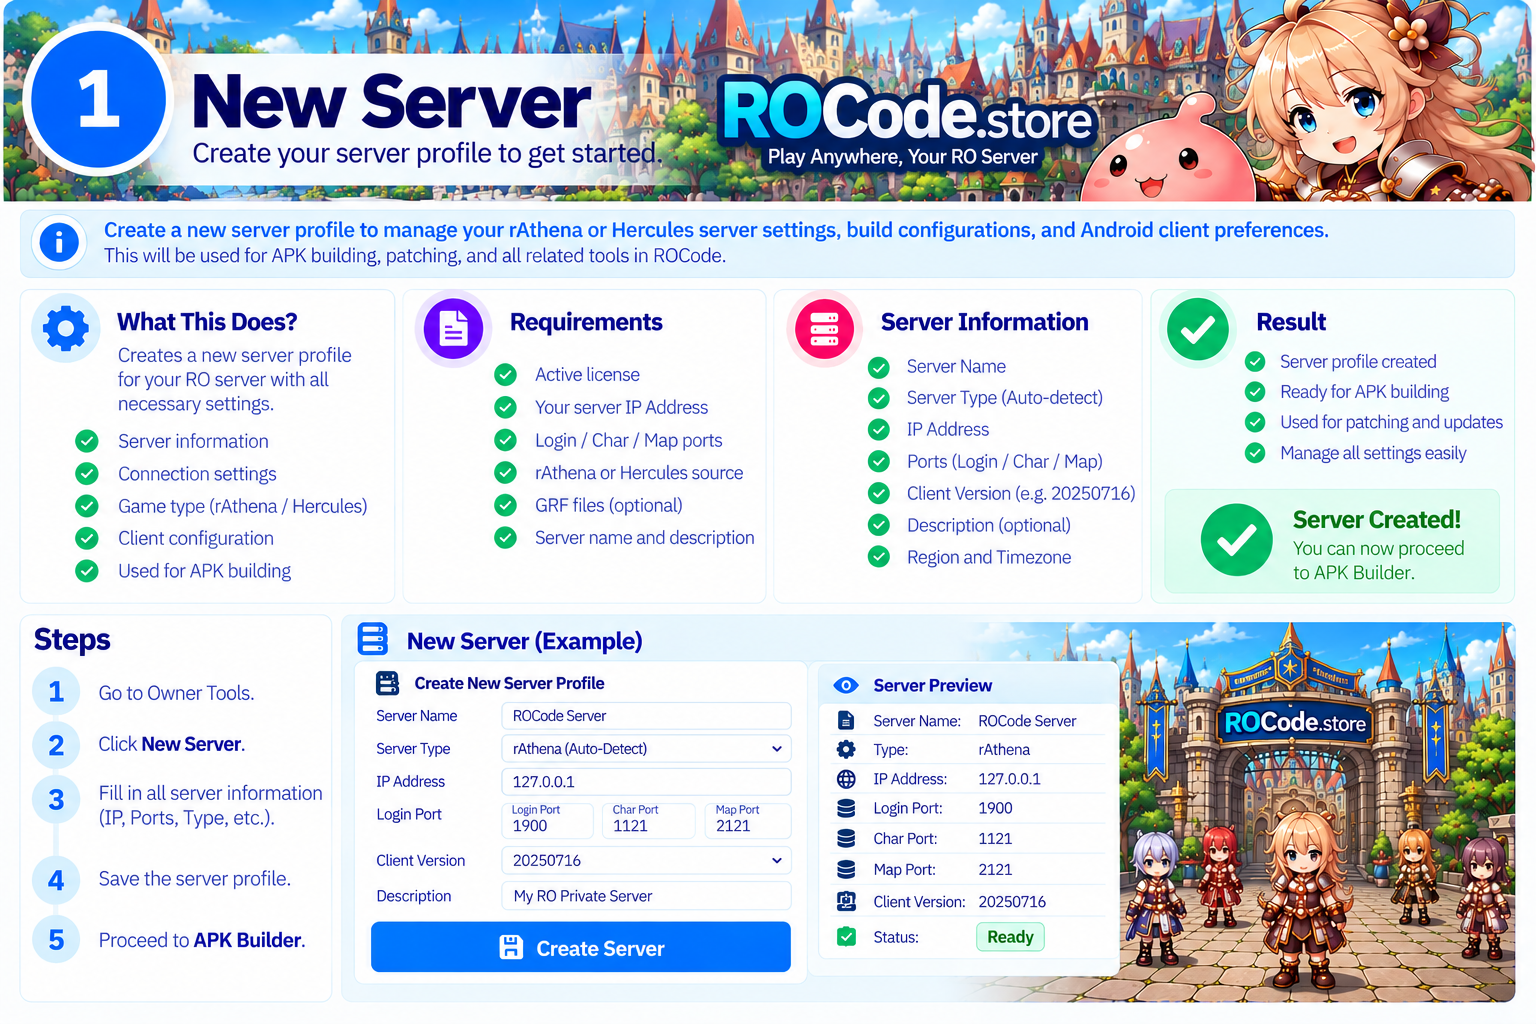
Start by creating your server configuration in ROCode Owner Tools.
Steps
- Log in to your ROCode account.
- Open Owner Tools.
- Click New Server.
- Enter your Server Name, Server IP / Hostname, Login Port, Char Port, and Map Port.
- Configure the available server/client options.
- Save the server.
2Build Your Android APK
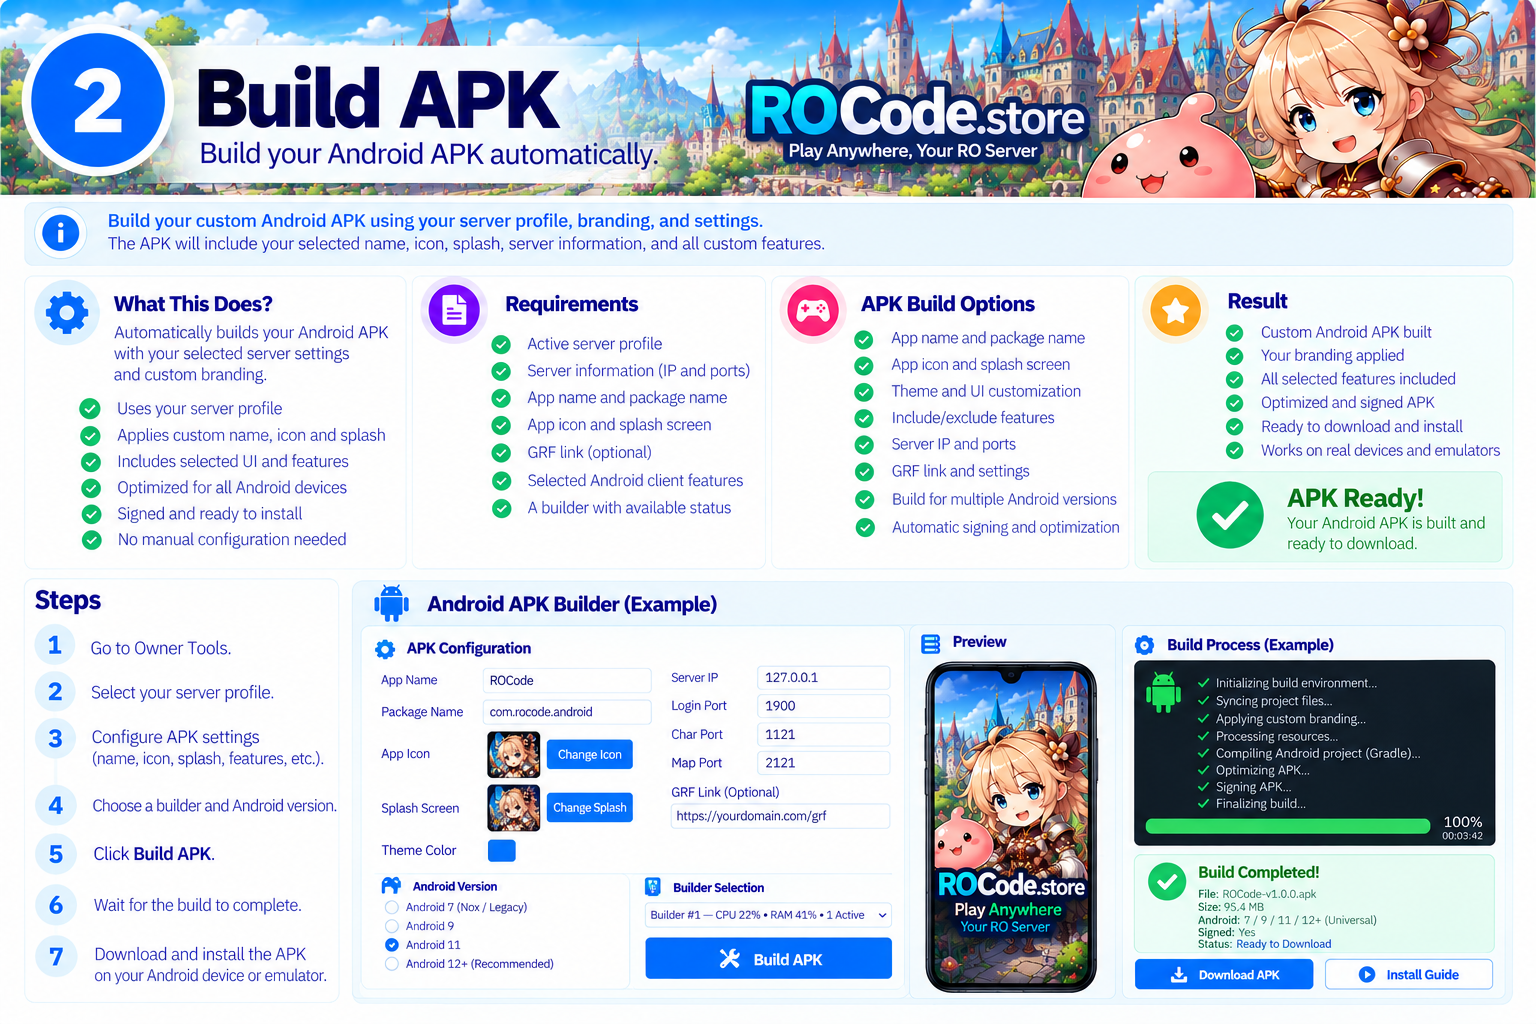
After creating the server, generate the first Android client for your server.
Steps
- Open your server in Owner Tools.
- Go to APK Builder.
- Configure App Name, Package Name, App Icon, Splash Screen, server branding, and the available Android client options.
- Review your configuration.
- Click Build APK.
- Wait for the ROCode Builder to complete the build.
QUEUED
   ↓
BUILDING
   ↓
COMPLETED
Install Test
Download the generated APK and install it on an Android device or supported Android emulator. At this point the APK is created, but the server-side ROCode setup is not finished yet.
3Setup rAthena
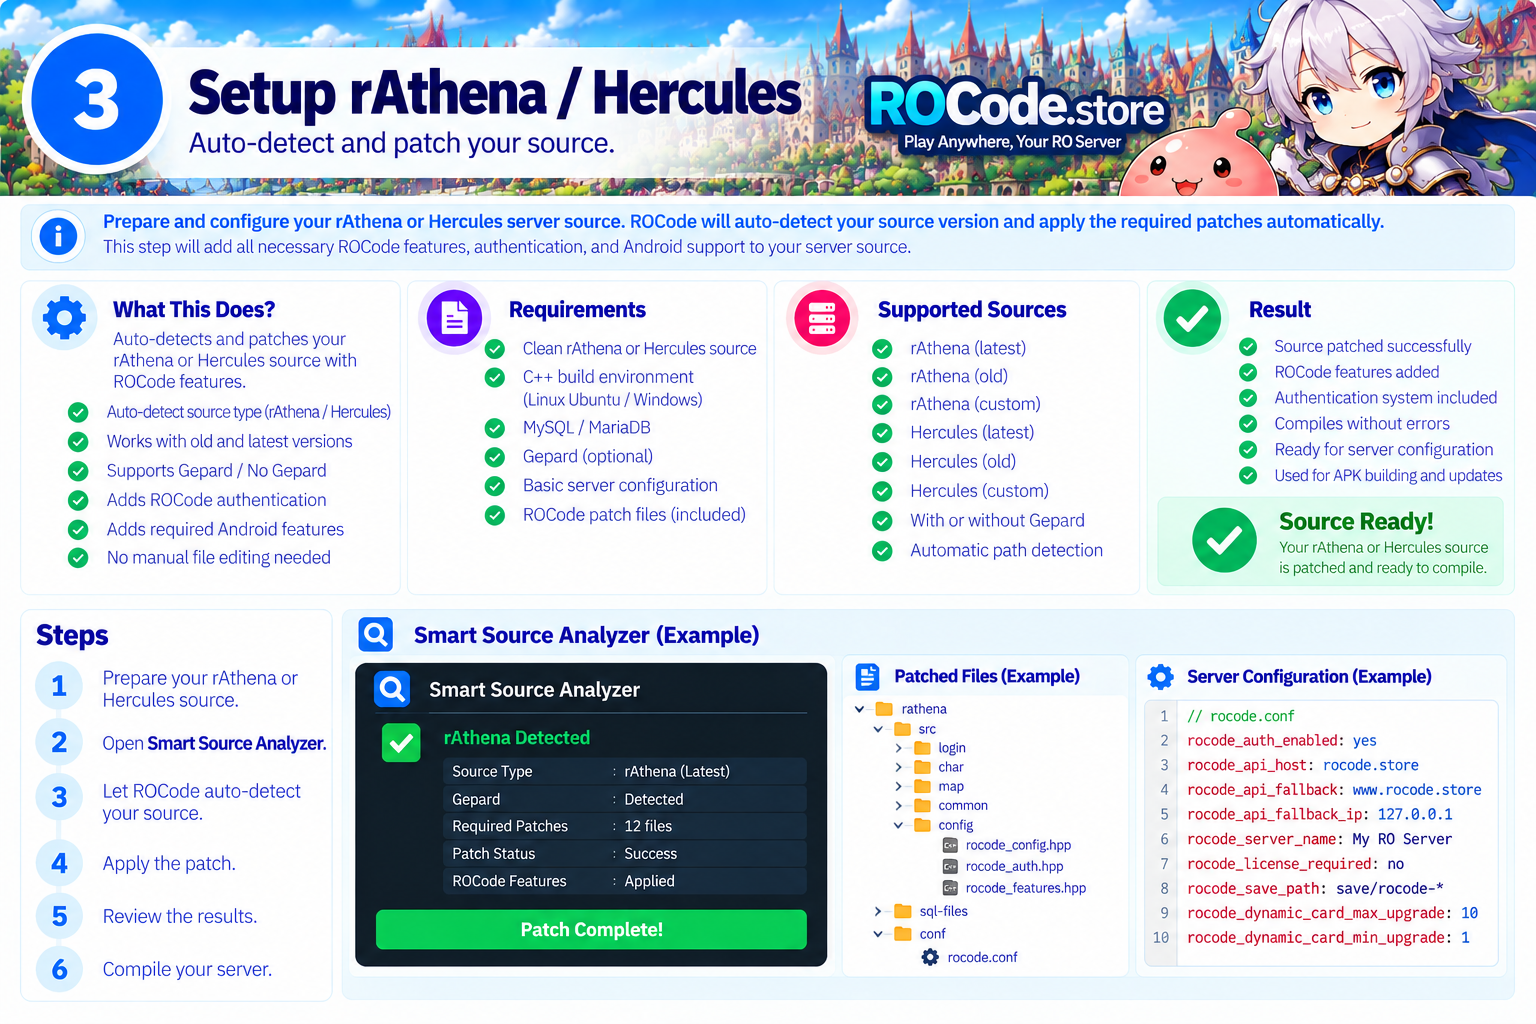
Prepare your rAthena server configuration for the ROCode Android client.
Steps
- Open Owner Tools.
- Select your server.
- Open Setup rAthena.
- Follow the generated server configuration.
- Confirm your normal rAthena server is working before continuing.
Verify
Do not continue if your base server is already failing.
4Patch Emulator SRC
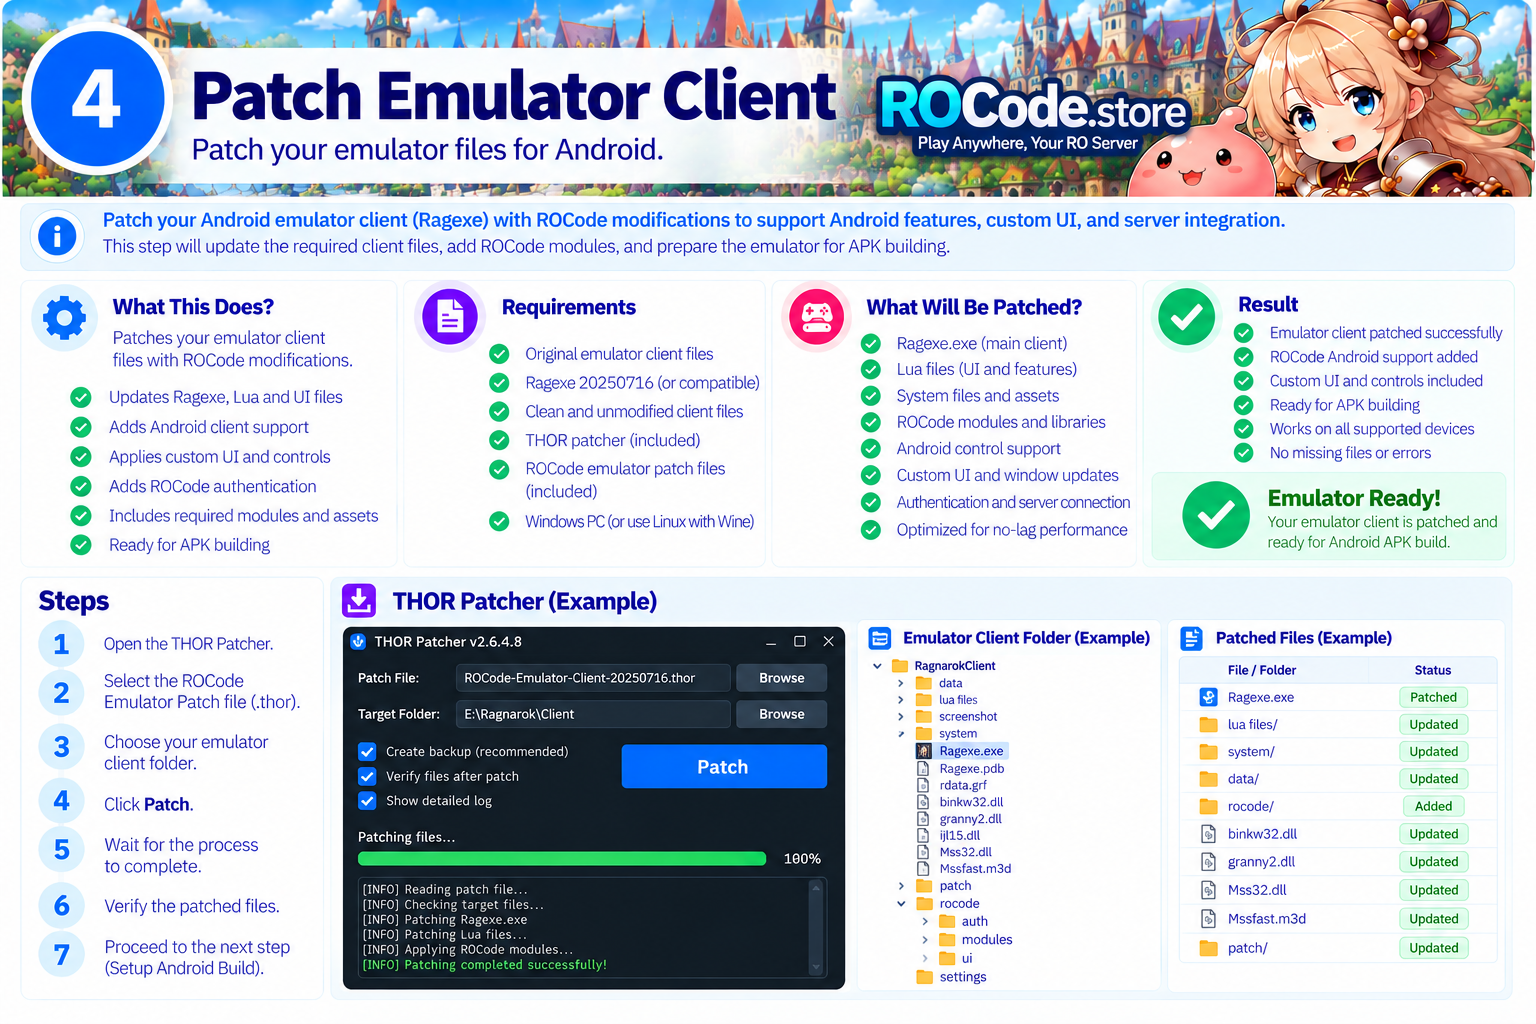
The emulator source patch adds the server-side compatibility required by the ROCode Android client.
Steps
- Open Owner Tools → Server → Smart Source Analyzer.
- Upload or select your current emulator source as instructed.
- Let the Smart Source Analyzer inspect the source structure.
- Apply the compatible ROCode patch generated by the analyzer.
- Replace/add the generated files as instructed.
- Recompile the server.
Example Linux build process:
./configure
make clean
make server
Restart the Server
login-server
char-server
map-server
Verify
Do not continue with custom client data until basic connectivity works.
5Patch Hat Table
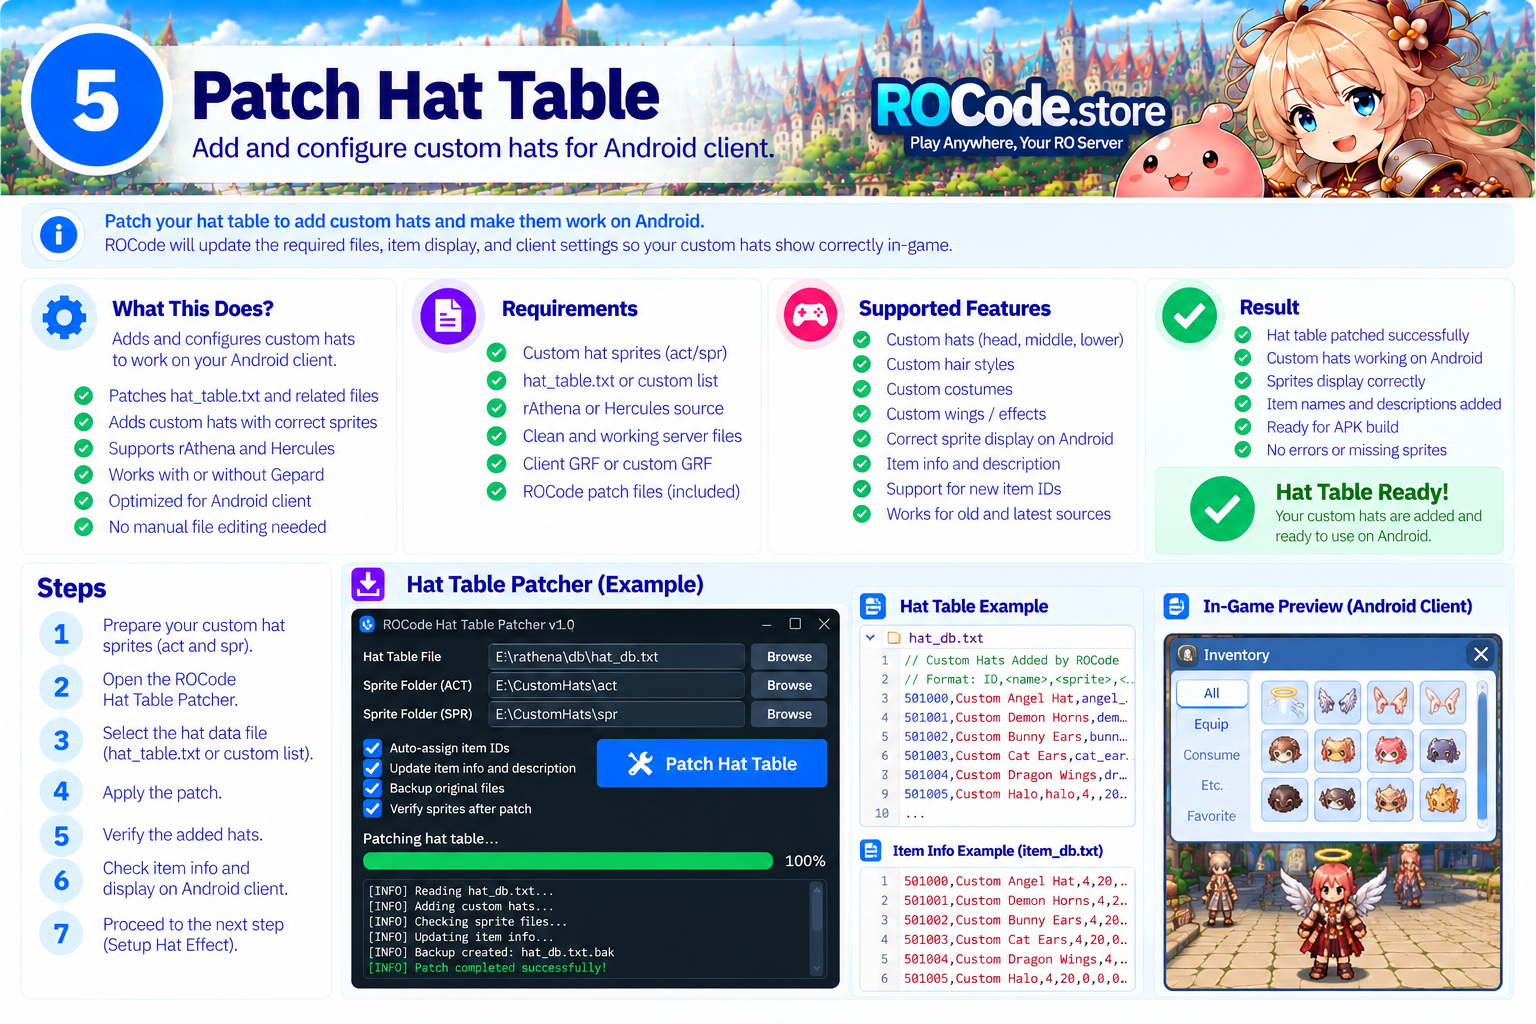
The Hat Table maps your accessory/headgear IDs to the correct sprite names used by the Android client.
Required PC Client Files
accname.luaaccessoryid.luaSteps
- Open Owner Tools → Server → HatTable Manager.
- Open Import Hat/View IDs and Sprite Names.
- Import your current
accname.lua. - Import your current
accessoryid.lua. - Let ROCode process the Hat/View ID and sprite-name information.
- Open the HatTable entries and review the imported data.
Verify
6Setup Hat Effect
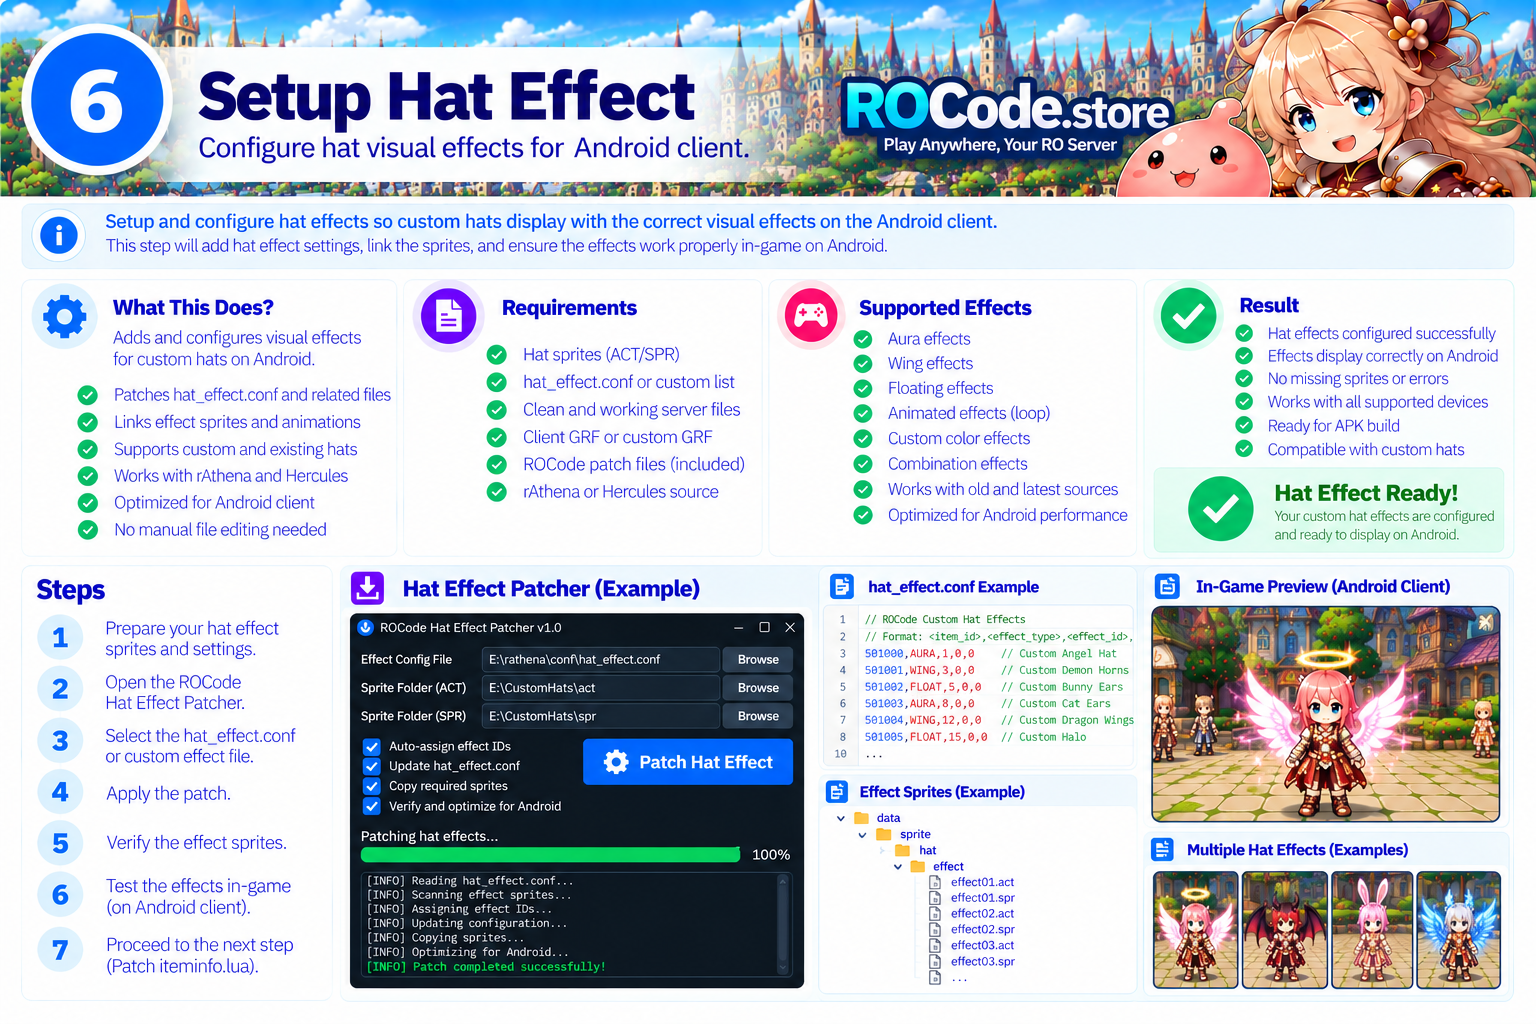
Hat Effect setup allows the Android client to recognize and display the supported/custom hat-effect data configured for your server.
Steps
- Open your server in Owner Tools.
- Go to Hat Effect.
- Upload/select the required Hat Effect files.
- Configure your Hat Effect entries.
- Generate the ROCode-compatible files.
- Apply the generated files to their specified client locations.
Verify
7Patch iteminfo.lua
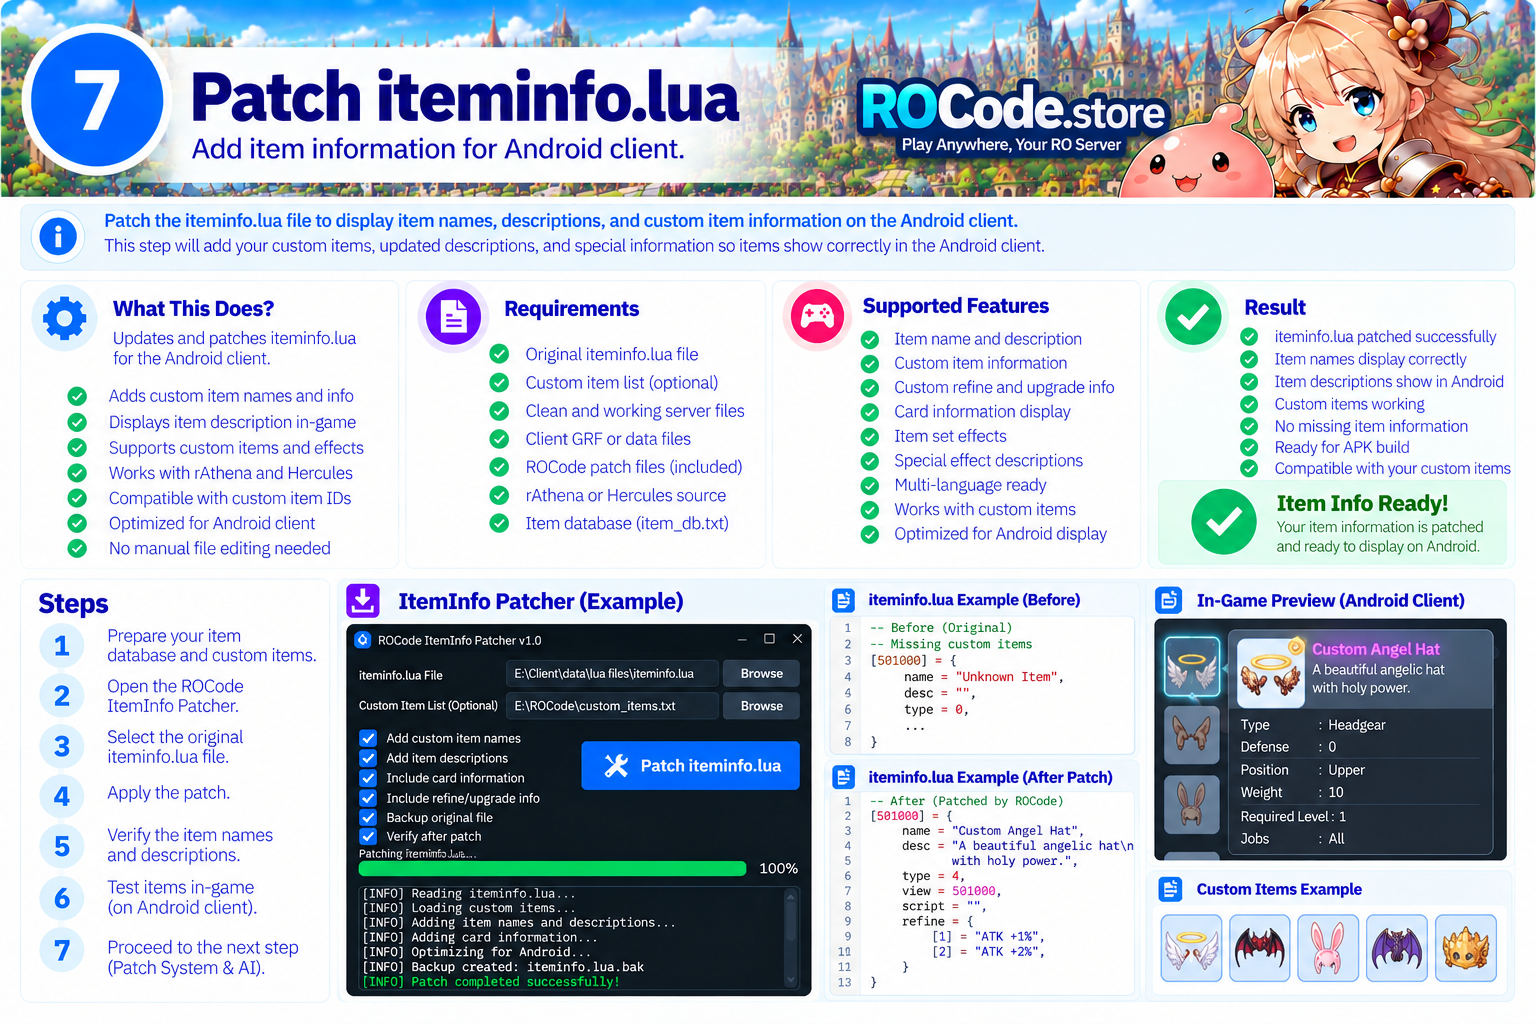
iteminfo.lua contains important client-side item information such as names, descriptions, and related item configuration. Whenever you add or modify custom items, Android needs the corresponding updated ItemInfo data.
Steps
- Open Owner Tools and select your server.
- Open ItemInfo Patcher.
- Upload the latest
iteminfo.luafrom your working PC client. - Apply/generate the required ItemInfo patch.
- Verify that your custom items are included.
iteminfo.lua. Do not upload an older file after adding new custom items.Verify
8Patch System & AI
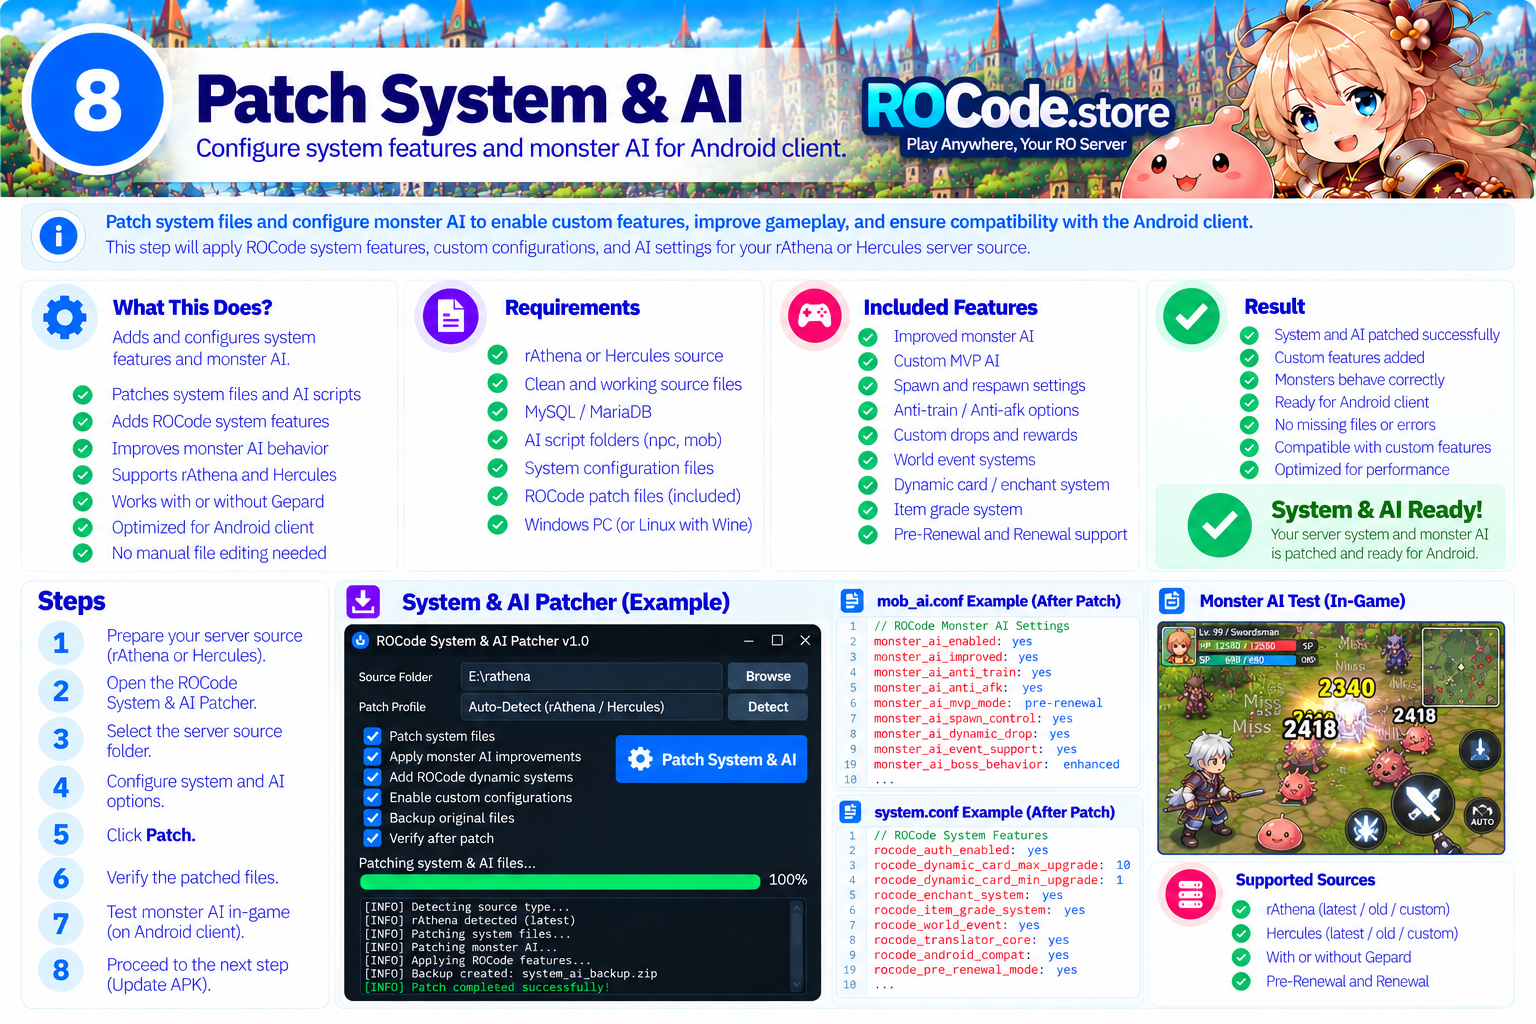
The Android client may require updated client-side Lua/configuration files from your PC client's System and AI folders.
Important Folder Structure
System and AI must remain in their correct client locations.
Ragnarok/
├── System/
├── AI/
├── data/
├── BGM/
└── ...
Ragnarok/
└── data/
    ├── System/
    └── AI/
Do not accidentally package System or AI inside the data directory.Steps
- Prepare your latest
System/folder. - Prepare your latest
AI/folder. - Open System & AI Patcher.
- Upload/select the required files.
- Generate the updated package.
- Verify the generated paths before applying it.
- Apply the patch to your client files.
Verify
THOR Patcher — New main.ini Remote Mode
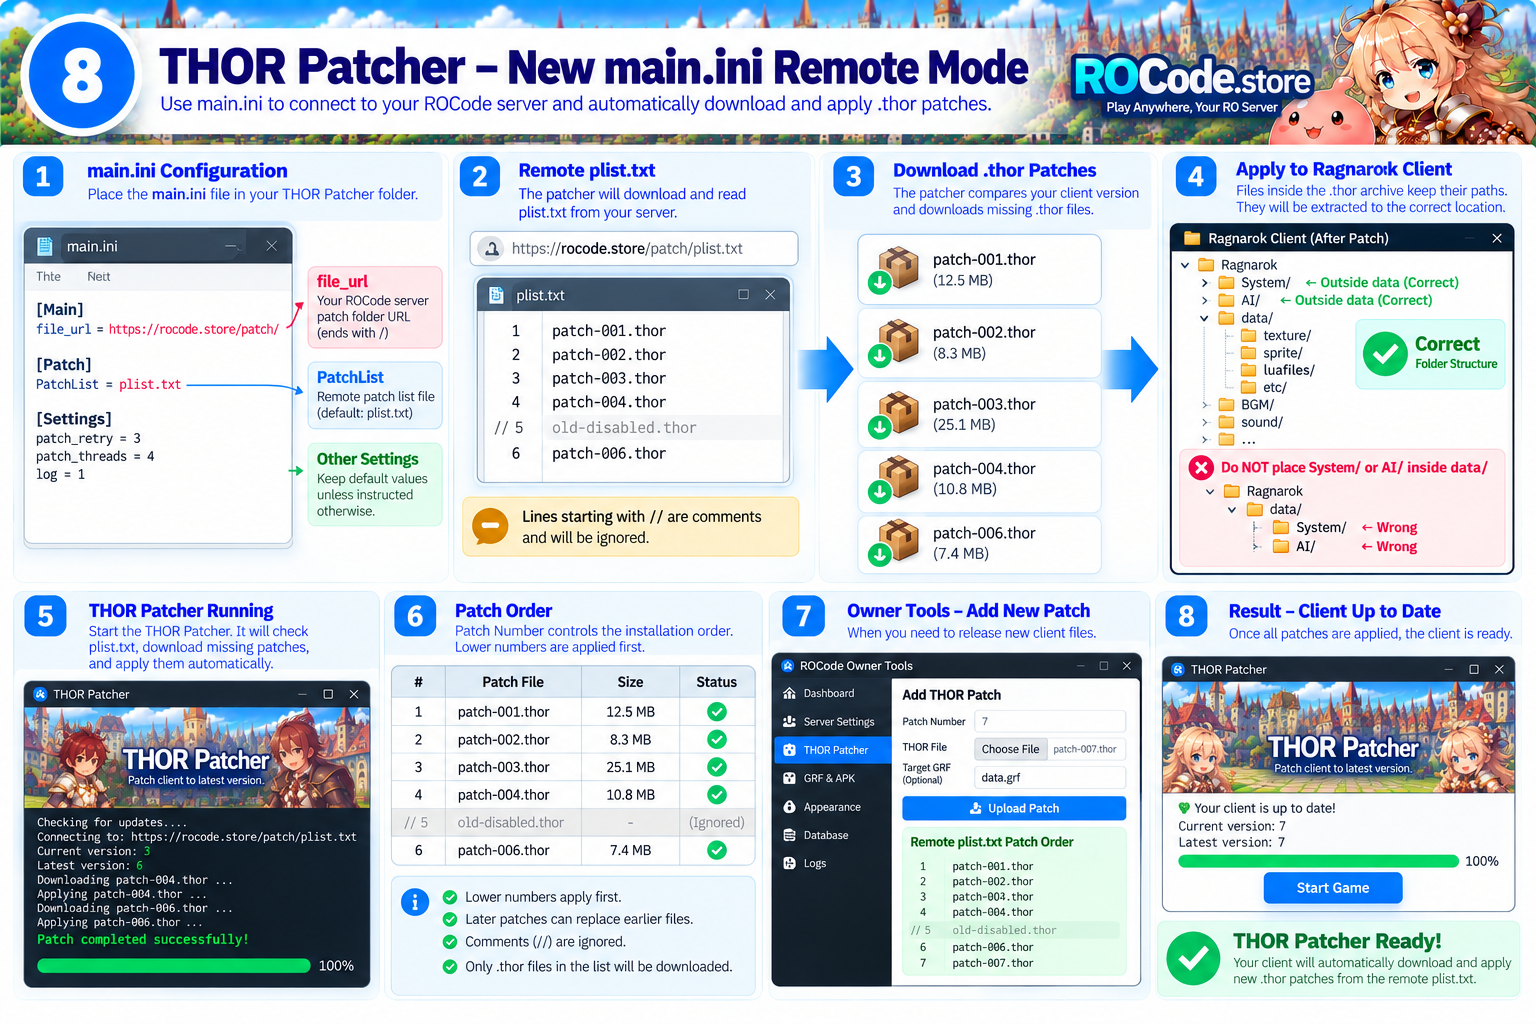
ROCode now supports the newer THOR workflow where your uploaded main.ini becomes the authoritative remote patch configuration. ROCode reads [Main] file_url and [Patch] PatchList, checks the live remote patch list, and sends only the active patches to the Android client.
Recommended Web Layout
patcher/
├── main.ini
├── plist.txt
└── data/
    ├── patch_1.thor
    ├── patch_2.thor
    └── patch_3.thor
main.ini Example
[Main]
allow=true
Force_Start=false
policy_msg=
file_url=https://your-domain.com/patcher/data/

[Patch]
ClientSum=
PatcherSum=
ClientPath=
PatcherPath=
PatchList=plist.txt
file_url is the public HTTP/HTTPS folder containing the .thor payloads. When it ends in /data/, ROCode resolves PatchList=plist.txt from the parent patcher folder, so the example above uses https://your-domain.com/patcher/plist.txt for the list and https://your-domain.com/patcher/data/ for the patch files.Activate main.ini Remote Mode
- Open Owner Tools → THOR Patcher.
- Under Auto Detect THOR Configuration, upload your current
main.ini. - Click DETECT MAIN.INI.
- Confirm the detected Patch URL, Patch List, List URL, HTTP status, latest patch, and next patch number.
- If the patch list does not exist yet and returns HTTP 404, ROCode treats it as a NEW/EMPTY PATCH REPOSITORY; you can create the list when your first patch is ready.
main.ini is uploaded, the remote patch list becomes authoritative. Legacy/manual THOR rows are retained for history but are disabled for delivery, legacy upload-date scheduling is inactive, and the old manual Add THOR Patch flow is unavailable while remote mode is active.Remote plist.txt Patch Order
Use one patch per line in this format:
1 patch_1.thor
2 patch_2.thor
3 patch_3.thor
Active patches are applied in numeric Patch ID order from lowest to highest. A line beginning with // disables that patch:
1 patch_1.thor
//2 patch_2.thor
3 patch_3.thor
In this example, patches 1 and 3 are active while patch 2 is disabled. Do not use duplicate active Patch IDs. Malformed active lines or duplicate active IDs are rejected instead of being silently applied.
Correct THOR Archive Paths
The path stored inside the .thor archive controls where the file is installed. Keep root folders at the Ragnarok client root when that is where they belong.
Ragnarok/
├── System/
├── AI/
├── data/
├── BGM/
└── ...
Ragnarok/
└── data/
    ├── System/
    └── AI/
Do not move System/ or AI/ under data/. ROCode preserves the archive-relative path; it does not force root files into data/.Android Runtime Behavior
In the current remote mode, THOR patches remain an ordered, reversible runtime layer instead of being permanently merged into the downloaded base GRFs. Existing installations that previously used the old merged THOR behavior perform a one-time clean refresh of ROCode-managed downloaded GRFs when the new remote mode is first confirmed.
plist.txt and .thor changes do not require rebuilding the APK.Verify
main.ini + patch list repository.9Update APK
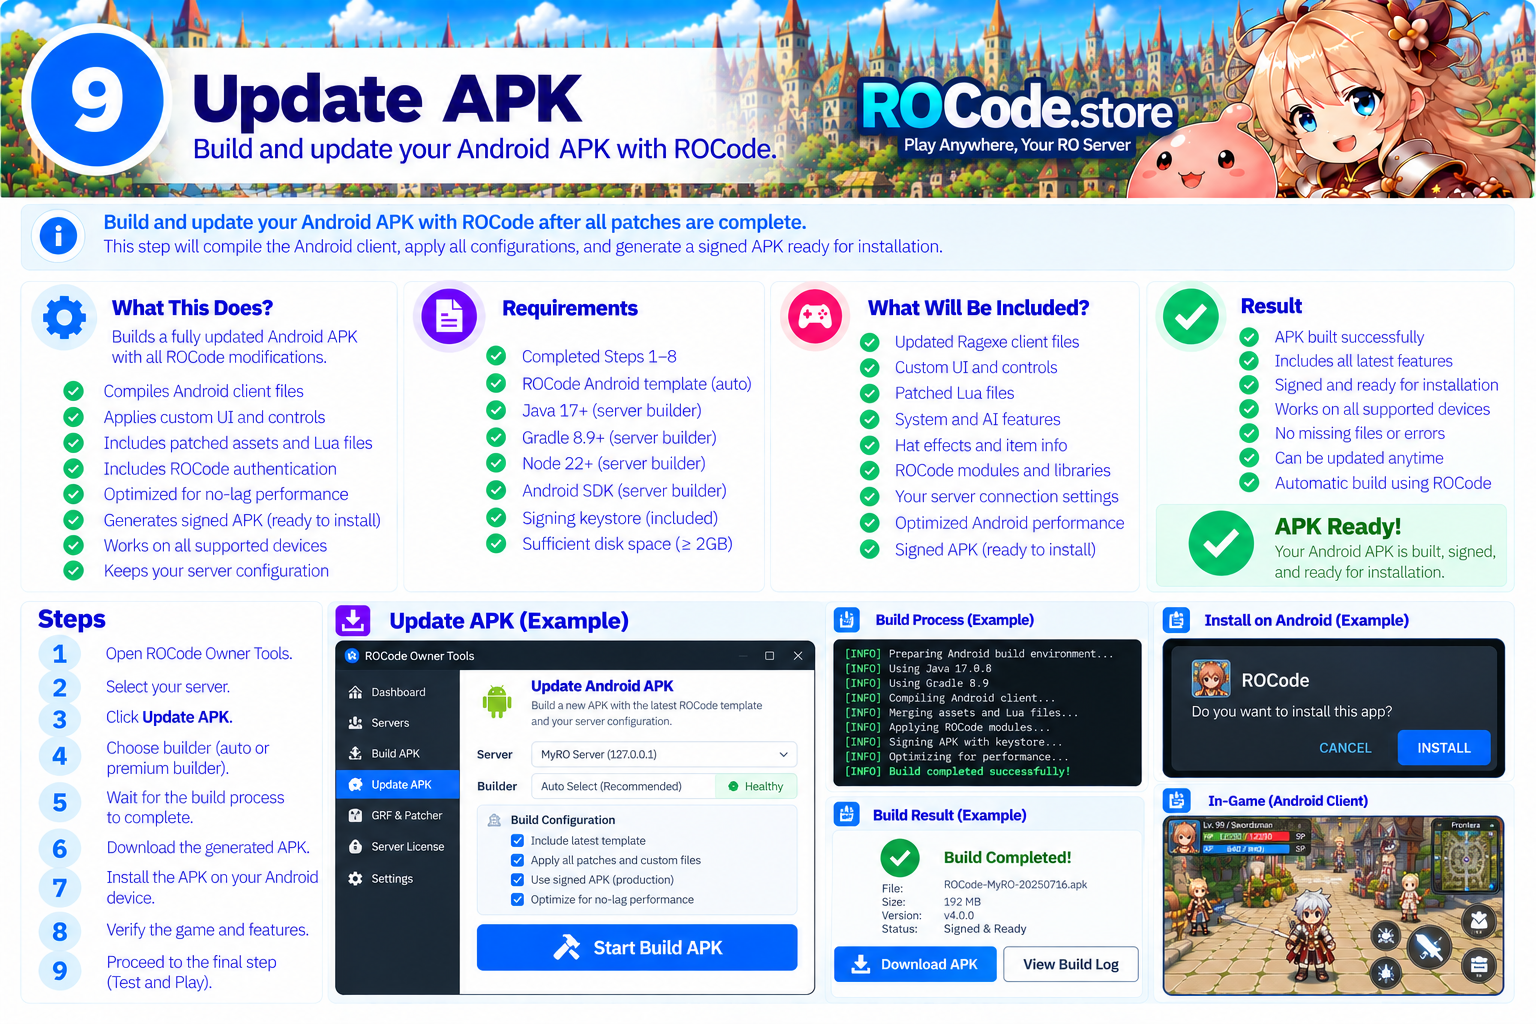
After the server and client data are ready, publish the changes to your Android client. You normally do not need to create a new server profile just because game data changed.
Steps
- Open Owner Tools.
- Select your existing server.
- Open Update APK.
- Review the latest prepared client files/configuration.
- Start the APK update/build process.
- Wait until the builder reports Completed.
- Download/install the latest APK if a new APK build was generated.
QUEUED
   ↓
BUILDING
   ↓
COMPLETED
Do not release the update to players until the Final Test passes.
10Final Test
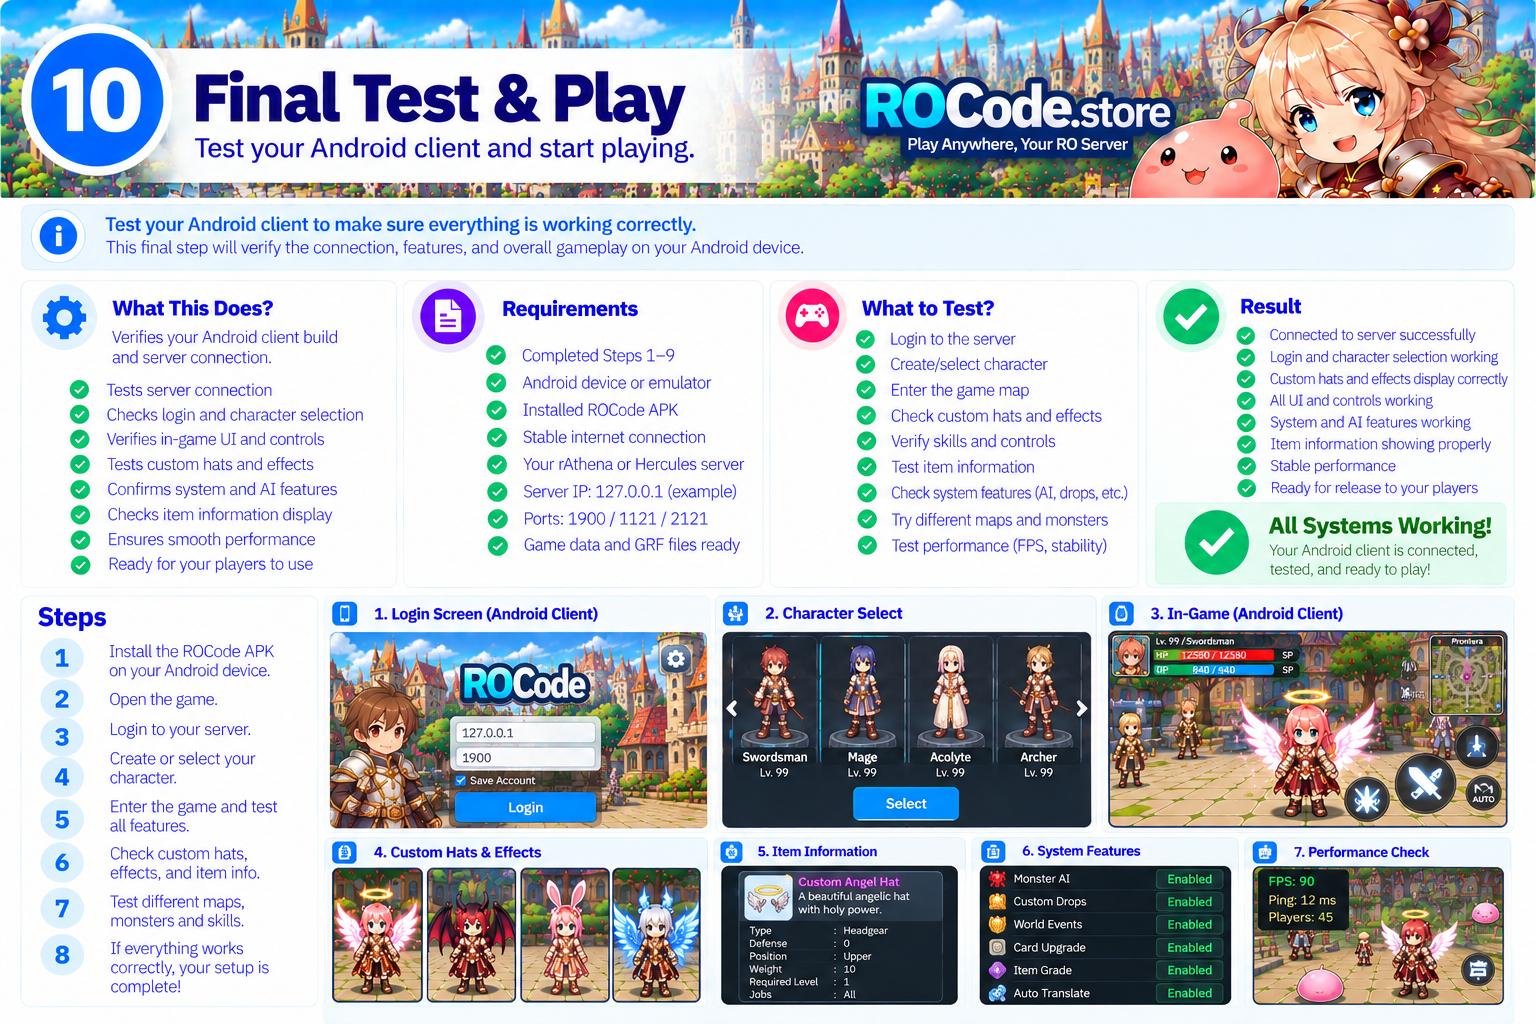
Test the finished Android client against your actual server before releasing it to players.
login-server, char-server, map-server, and the ROCode builder logs while testing. Fix errors before release.Updating an Existing Server
For future updates, you normally only need to update the part that changed.
New Custom Items
Update Server Database
→ Patch iteminfo.lua
→ Update APK
→ Test
New Hat / Sprite Data
Patch Hat Table
→ Setup/Update Hat Effect if required
→ Update APK
→ Test
System / AI Changes
Patch System & AI
→ Update APK
→ Test
THOR / Game-Data Updates
Create/upload new .thor on your patch host
→ Add the next numeric entry to remote plist.txt
→ Verify Remote plist.txt Patch Order
→ Test Android client patch download
→ No APK rebuild required for normal plist/.thor changes
Server Source Changes
Patch/Update Emulator SRC
→ Recompile Server
→ Restart Server
→ Test Android Client
Before Releasing Any Update
Keep backups of your important server and client data:
rAthena sourceSystem/AI/iteminfo.luaGRF / client dataROCode server configuration